Perennial Border Planting Plan: A Designer's Step-by-Step Method
Most perennial borders peak in year two and decline from there. Here is the planning method designers use to build borders that get better every year.
A perennial border is a planted composition that should perform from March to November and improve every year. Designing one well is one of the harder skills in garden design — it requires holding succession of bloom, plant pairings, and long-term competition in your head at the same time. The method below is what I actually use on professional projects.
Start with soil and orientation
Before choosing a single plant, know your soil pH, drainage and aspect. A clay border that holds water in winter needs a completely different plant list from a free-draining sandy one. Map sun and shade across the day; many 'sunny' borders are actually part-shade by 3pm in summer.
The matrix method: structure plants first
Choose the structural plants before the flowers. These are the long-lived, late-flowering or evergreen perennials and small shrubs that hold the border together: Calamagrostis 'Karl Foerster', Persicaria amplexicaulis, Sanguisorba, Eupatorium maculatum, a few low evergreens (Sarcococca, Pittosporum 'Golf Ball'). They make up about 40% of the planting.
Then fill between them with the seasonal performers: tulips and alliums for spring, salvias and geraniums for early summer, asters and grasses for late season.
Designing succession of bloom
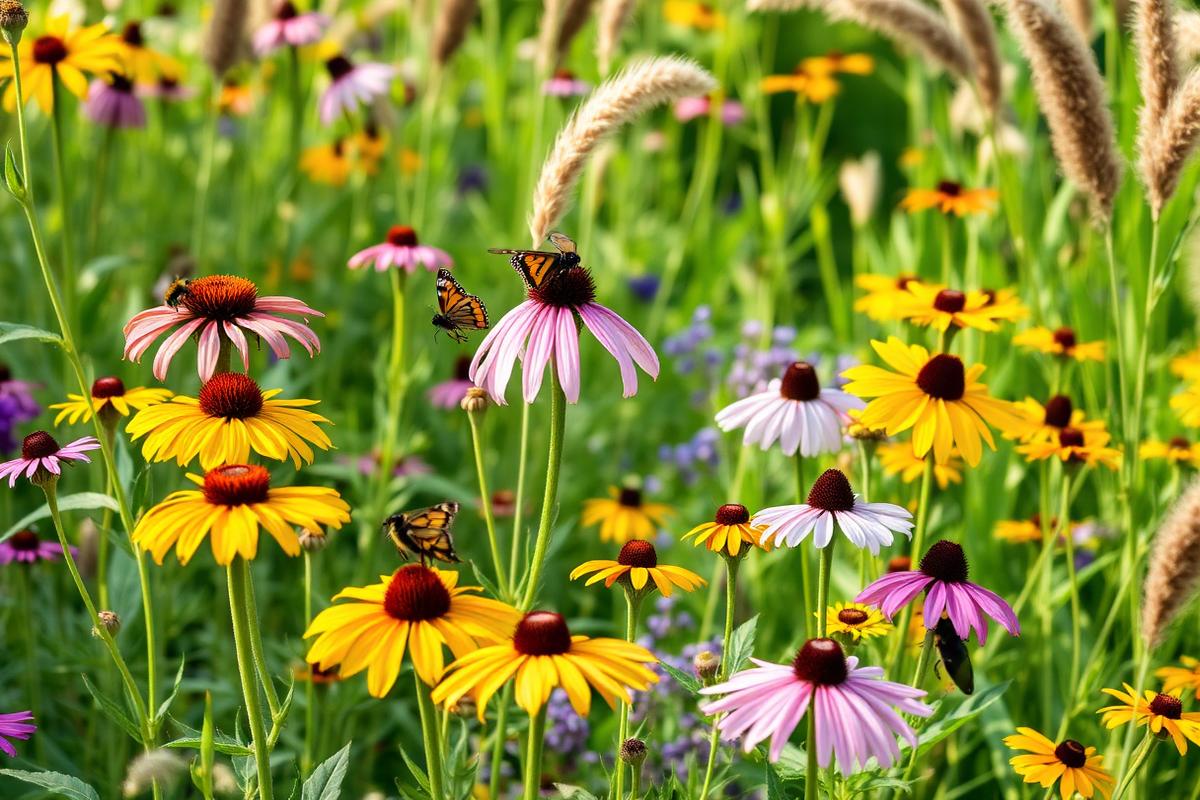
Divide the season into six pulses: early spring (bulbs, hellebores), late spring (alliums, geums, aquilegia), early summer (salvia, geranium, peony), high summer (echinacea, achillea, knautia), late summer (helenium, persicaria), and autumn (asters, sedum, grasses). Aim for at least three plants flowering in each pulse, visible from the main view.
Spacing and density
Most amateur borders are under-planted. As a rough guide: 7–9 perennials per square metre for medium-sized species, 3–5 for larger ones. Plant in groups of three, five, or seven of the same variety (never one of each). This is what makes a border read as designed.
Why most borders fail in year three
By year three, the fast-growing thugs (Geranium 'Rozanne', some persicarias, mints, some sedums) have outcompeted the slower-establishing partners. Lift and divide aggressive species every third spring; replant only what you need. Refresh soil with compost annually.
A sample 4×2m sunny border
Back layer (1–1.5m): 3× Calamagrostis 'Karl Foerster', 3× Persicaria amplexicaulis 'Firetail', 1× Eupatorium maculatum 'Atropurpureum'.
Middle (60–90cm): 5× Salvia nemorosa 'Caradonna', 5× Echinacea purpurea 'Magnus', 3× Achillea 'Moonshine', 5× Verbena bonariensis (will self-seed).
Front (30–50cm): 9× Nepeta 'Walker's Low', 7× Geranium 'Rozanne', 5× Stachys byzantina.
Spring bulbs (planted through): 40× Allium 'Purple Sensation', 30× Tulipa 'Queen of Night'.
Key Takeaways
- Know your soil, sun and drainage before choosing plants.
- Choose structural, late-flowering plants first; fill in seasonal performers second.
- Plant in groups of 3, 5 or 7 of the same variety — never one of each.
- Divide aggressive species in year three to stop them swallowing the slower ones.
Frequently Asked Questions
How long does it take a perennial border to look established?
About three growing seasons. Year one establishes roots; year two starts to read as a designed planting; year three is when a well-planned border peaks.
Should I mulch a perennial border?
Yes — apply 5–7 cm of well-rotted compost or composted bark in late winter, keeping it off plant crowns. It suppresses weeds, conserves moisture, and feeds the soil.
How wide should a perennial border be?
At least 1.5m for any sense of depth; 2.5–3m for a classic three-layer border. A 60cm strip against a fence will always look thin no matter what you plant in it.